Monday, October 15, 2012

Second Grade Giuseppi Arcimboldo Inspired Self-Portraits

Second graders just finished a self-portrait collage lesson where we discovered the artist Giuseppi Arcimboldo.  Arcimboldo was known for his painted portraits of people made up of objects such as books, flowers, vegetables, and other plants.  We began our exploration of the artist through playing a game with the Smart board where the students could practice the concept of collaging a human portrait using various vegetables.  Then, the students were on their way cutting images from family and garden magazines to use in their portrait collage.  They turned out to be so unique! It was a funny lesson that had us all giggling all throughout art class!


Here is a look of some that are on display in the main hallway! They sure are getting a lot of attention from the teachers here at BES.... everyone thinks they are so creative!


Fourth Grade Takes A Turn With Gelatin Prints!

Our big idea for the month of October is Environment. For fourth grade, we are learning how our environment can inspire our art as well as be used to create our art. We had a fabulous time making prints using the gelatin printmaking method. The students loved it so much that they wanted to know how they could do it at home! So here is what you need: A box of Knox unflavored gelatin (you can get it from any grocery store), a baking pan to hold the gelatin, water based printing ink (you can get from Hobby Lobby or any craft store), a brayer to roll the ink (any craft store), aluminum foil to roll the ink out, and lots of soft foliage like leaves to use in the printing process.

Step 1: Prep your gelatine printing plate by placing 2 cups of water in a pot and 4 packets of gelatin powder (4 tbsp). Heat water up to dissolve the gelatin and stir consistantly so it doesnt burn to the bottom! Once the water is hot, pour it into your baking pan and place in the frige to harden for at least 12 hours.

Step 2: roll out your ink first on the foil and then roll ink onto the gelatin until the ink on the gelatin is opaque.

Step 3: Lay your leaves onto the inked gelatin plate. Yarn works great too!

Step 4: Place paper over the leaves and gently rub the back of the paper. You are trying to pick up all of the ink around the leaves to create your negative print. Pull your negative print.

Step 5: Blot any extra ink not picked up from the negative print and then carefully peel away the leaves from the gelatin.

Step 6: Lay a second peice of paper down on the gelatin to create your positive print.


Step 7: Do steps 1-6 again and again!! Have fun!


Here are some that are now on display in the main hallway! They look so beautiful and it was such a fun way to teach negative and positive space to fourth grade! I hope that you have fun doing these at home :)


Wednesday, October 10, 2012

Teachers Make Art, Too!!!

Yes... it's TRUE! I love having the teachers come in some afternoons to decompress and have fun with art! The day doesn't always end for us when the students leave so it is important for us to take some time to sharpen the saw through getting creative. Fourth grade will be doing a lesson on positive and negative space by creating gelatin prints using elements of nature (leaves, flowers, vines, etc.). So I invited the teachers to come try out the process after school yesterday. Here is what we did! :)


I am so excited to do these with fourth grade this Thursday and Friday!


Monday, October 1, 2012

Fourth Grade Wire Self-Portraits

Fourth grade just completed their first art piece of the year... how exciting! We started off the unit discussing the artist Alexander Calder and his wire portraits. We then discussed the idea of a continuous contour drawing, a line drawing where the drawing tool is never lifted from the paper, and how the wire portraits use continuous contour lines. We practiced creating continuous contour line drawings of our self-portraits using the paint program on the smart board! So FUN!


Next, the students began using the wire medium to start their abstract self-portraits.


This project was so fun! Using wire as an art medium was unique to the students and myself and it could not have gone any better! Come check out the display of some of the wire portraits in the art display case at school.


Tuesday, September 25, 2012

Kinders Paint!

Last week the Kindergarteners had their first painting experience in the art room! This is always exciting for both the students and myself. I was very impressed! There were no major spills, messes, or mixed up paints in the paint cups! HUGE deal here because this shows me that they are ready for all of the messy fun to be had in the art room at school. The project they are working on is their self-portraits. They start by tracing a head shape, painting it and a neck by choosing and using the right skin tone for their self-portrait, and then using other colors to paint their background and shirt.


This week we went over what we began last week. The kinders had such a good memory and were able to tell me what a "self-portrait" was in their own words. This week we talked about our hair and facial features such as our eyes, nose, and mouths. I showed them how to use the art materials such as oil pastels, glue, and scissors to create facial features and hair for the self-portraits. Below are some of the artworks in progress. I can't wait to see them completed next Monday when we create shape patterns in the background! 


*If your student has not brought in their art shirt yet, please do this ASAP so that they are ready for the art room each week. Thank you!!*


Monday, September 10, 2012

Back At It!

Today was my last day of introducing students to all of the new routines in the art room. This means that everyone in the whole school has had their first art class of the school year! The first art class is a good time to go over introductions and expectations but it is also important to get them started on creating artwork. As I have mentioned before, I love doing collaborative art the first week to show the students how important they all are individually and what awesome things they can get accomplished when they all work together.

"Meet Our Colorful Students"
For this lesson, 2nd through 5th grades created self-portraits. The catch was that they had to use the color of the table they chose to sit at for the year. So people who sat at purple table used purple markers, purple crayons, and purple colored pencils and so on. We discussed what a self-portrait was and then got started on a little color theory. Second and third grades learned about color value. Their challenge was to experiment with the different drawing materials at their table to make both dark and light values of their color. Grades four and five took it a step further and learned about analogous color schemes. Analogous colors are colors that are neighbors on the  color wheel. Ex. Purple and red, green and blue, etc. They had to start with the color of the table they sat at and then they could choose one analogous color to go to and finish their self-portrait. These analogous color schemes helped the large mural transition from one color to the next. Ex. Green, green and blue, blue. This was an awesome lesson because it introduced new concepts while also reviewing art vocabulary that I knew some of them had already learned last year.


Kindergarteners and first graders also have to use the color of the table they sat at, however, they did line drawings. For first graders, this was an awesome review of different lines that we discussed last year. For kindergarteners, it helped me to see what they already knew about color and lines and determine each students' fine motor skill development.


I worked with a few students after school putting this mural all together. I am so thrilled at how it looks and can't wait to hear about the students reactions when they go to school tomorrow to see it for the first time all together. It sure has a "WOW" factor to it!! Parents please come by to see it in person!

*Special "THANK YOU" to the blog Elementary Art Fun for this awesome first week lesson idea!*


Wednesday, August 29, 2012

Preparing For A New School Year!


There may in fact be nothing more exciting than the beginning of a brand new school year! Our school theme this year is illustrated above and there are lighthouses leading the way all over the building! It is clear that all of us teachers have “sharpened the saw” and are ready to get to work. Although school officially starts this Tuesday, the teachers have been busy this week preparing and planning. I wanted to give you all a classroom tour and share a few new routines that I will be implementing this year.


First of all I have to give a HUGE shout out to Pinterest! Pinterest is a website that is such a great resource for people to share creative ideas. As for teachers, it allows us to explore different classroom organization techniques and awesome lessons. I promise you that you will see a lot of my Pinterest inspiration on this blog throughout the year… starting now! J Below are all Pinterest inspired projects that I have been working on in my classroom this week. 


You can't have color without light... the light from the lighthouse of course! 
 I created these BES crayons from cardboard tubes and bulletin paper.


This year I decided to try out expectations instead of rules. I believe these fit perfectly in the BES art room and help to build upon the sense of community.


Last year I learned my lesson spending almost a whole 5 minutes passing out papers and trying to figure out who the no namers were. Hopefully these stop signs help me spread the word... write your name! 


No more water puddles on the counters and floors this year... hopefully! These little dots that represent go, slow and stop help organize the students at the sink who are washing their hands at the end of class. This way there are not three people at one sink having fun playing in the water! 


Love this idea here! Each picture frame is labeled with a grade level and allows me to write the daily objectives/I can statements on them with a dry erase marker. This keeps the goal for each class session clear and students are able to better assess their understanding at the end of class.


Isn't this the truth? Especially when you only get 45 minutes of art once a week!


Which brings me to this sign that is posted outside of my door. "Thank you for using the restroom and water fountain before art!". This reminds students that our time is very valuable and to make sure they are able to take advantage of every minute! The other resource teachers could feel my pain and now have a similar sign posted outside of their rooms as well!

See, isn't Pinterest great?! Now here are some of my own creative ideas...


Here is the new and improved art room for the 2012-13 school year! I can not take total credit for the new look of the tables, however. These tables have been here ever since I went through here which means they sure are durable... but they sure are NOT aesthetically pleasing. More than anything they are incredibly hard to keep clean! So instead of spending bunches of money on new tables, I covered them with bulletin paper to spice them up a little. Then I went to Joannes fabric store and bought this plastic material by the yard. I received the plastic covering idea from another amazing art teacher in the county who does this each year. She says they are super easy to keep clean and so far I am happy with them! It definitely makes a huge difference to the eye!


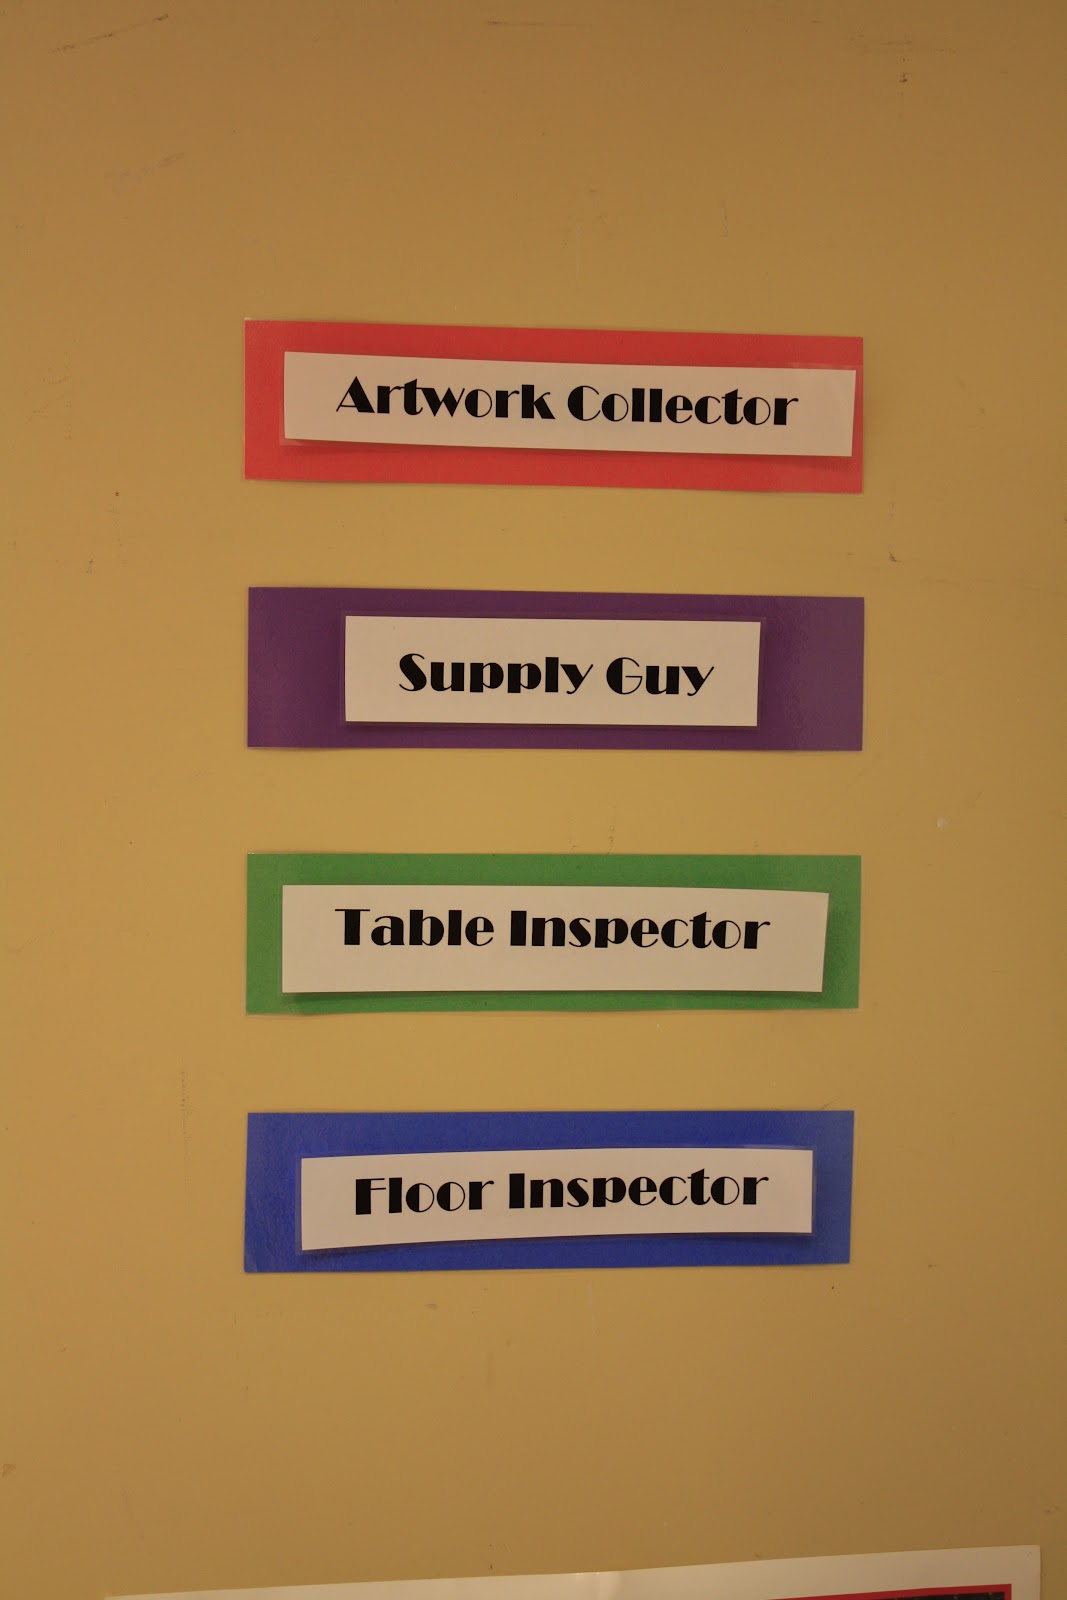
Here is the new clean up routine! We have an artwork collector, supply guy, table inspector, and floor inspector. Each seat is labeled with a color that corresponds to the job colors. The job titles have Velcro and I am able to rotate them so that the next time the class comes in everyone has a new job to be responsible for. I believe this system will help to foster more responsibility in the art room. 


On these cabinets the students will be able to find their grade level and look at visuals that correspond to their specific unit/lesson they are learning. This way they can be proactive in finding answers to their questions during their independent process time. I haven't gotten to actually putting up the visuals yet but hey... that's okay!


And last but not least, the bulletin! I decided to do an artist of the month type of thing here using the lighthouse theme. The artist for the month of September is Chuck Close. If you are not familiar with him please look up his work! He is amazing and you might get a little hint as to what the first week school-wide collaborative project will be!! J